Pages

Friday 31 July 2015

And the winner is ....

Helen from Woollybluebells!

CONGRATULATIONS!!!!

Helen, this lovely book is going to be yours!
 
Please send me an email (viola_weiss@yahoo.de) with your address and I'll get the parcel in the post to you as quickly as I can.

This will be my last post for the next three weeks as we are going on holiday! Tomorrow we'll leave for the Netherlands, three week of beach and sand and waves and lazy times. Hopefully the weather is getting better soon. But I'll take enough yarn and books as well, so that the weather won't spoil our recreation. 
If I use up all the yarn I'm going to take with me, I will have a lot of things to sharewith you afterwards but who knows how much hooky time I will actually have!   

I hope you will also have a lovely time, enjoy happy August days and take care!
Viola


Wednesday 22 July 2015

Flowers, Flowers, flowers... My Granny Madelief flower cushion

My first cushion tadah!

Lately quite a few blogger write about their UFOs (unfinished objects) that are lying around in their baskets, on shelves or hidden in a cupboard. I always read these blogposts carefully, looking at all these beautiful works which would be finished if someone just spend a few hours working on them. I have to admit that I can happily join this club. 

I am a starter, not a finisher. I love to let the inspiration get me. I see something in a book, on pinterest (oh, how many hours can you possibly spend there looking at all these gorgeous works...) on a blog or in a shop and I know that I have to start immediately with it. And if I have the right yarn at home, nothing can stop me to start something new. I don't know how many UFO's are spread all over the house. As I don't have a special craft room, I tend to put my works just everywhere. 

It would be a LOT of work to collect all my UFOs and write a blog post about them. I really don't feel like it at all, it's summer time, isn't it? Though it is raining again, sigh...
Napoleon is alleged to have said: 
'Die Deutschen haben 6 Monate Winter und 6 Monate keinen Sommer.'  (The Germans have 6 months of winter and 6 months no summer). I hope that this summer wants to refute this assertion soon!

 But back to my UFOs. I promised myself to finish at least one UFO before I start something new. 

BIG PROMISE!!!

And the beginning is easy, of course. I am quite enthusiastic about this promise. So I started with a cushion cover that I began already last year. It worked up quite quickly and I enjoyed making it because the pattern was so easy and very nice to work. You can find the free (!) pattern on the wonderful Dutch blog of Stephanie from handwerkjuffie.

But when I almost finished the front I didn't know how to do the back. Should I take fabric? But then I would have to sew the back... With a zipper (oh no, I'm such a bad sewer...)? 
  I went to Ikea and bought some nice fabric but I just could make up my mind. Did I like the blue and white check pattern? Or should I better take the light blue one with the red dots? Or should I put the fabric in the cupboard and take up my hook and yarn?
But how? Stripes, grannies... Oh dear, all these questions demanded too much of me and I put the whole project aside.  

But now everything was settled very quickly. I started crocheting the back, simple stripes using the colours of the front.
  Everything worked up very quickly and today  I finished all by sewing 4 buttons to the side. 

Tadah!
While I was writing this the sun came back again and I happily moved outside to take a rest and make some nice photos of my new cushion. 
 As it is sunny by now my son is taking the opportunity to go swimming with friends and my daughter is back from the stable and playing horses with a friend in the garden. So I will take my time for a cup of tea, a rasperry muffin and some happy crocheting.

See you soon and don't forget to  to enter my Giveaway by saying hello in the comments below. 

Have a great week everyone. 
Viola 


Monday 20 July 2015

"Häkelblüten" by Nicky Epstein and a Giveaway!


This is the first days of the school summer holidays and we are enjoying it a lot. My daughter is having a great time at her riding stable this week, she is a happy, happy girl.

My son is also very happy, his best friend who is living in Kuala Lumpur, Malaysia at the moment is back for summer holidays. The two boys are having the time of their life, chatting, playing football, swimming and doing all the things twelve year old boys love to do. 

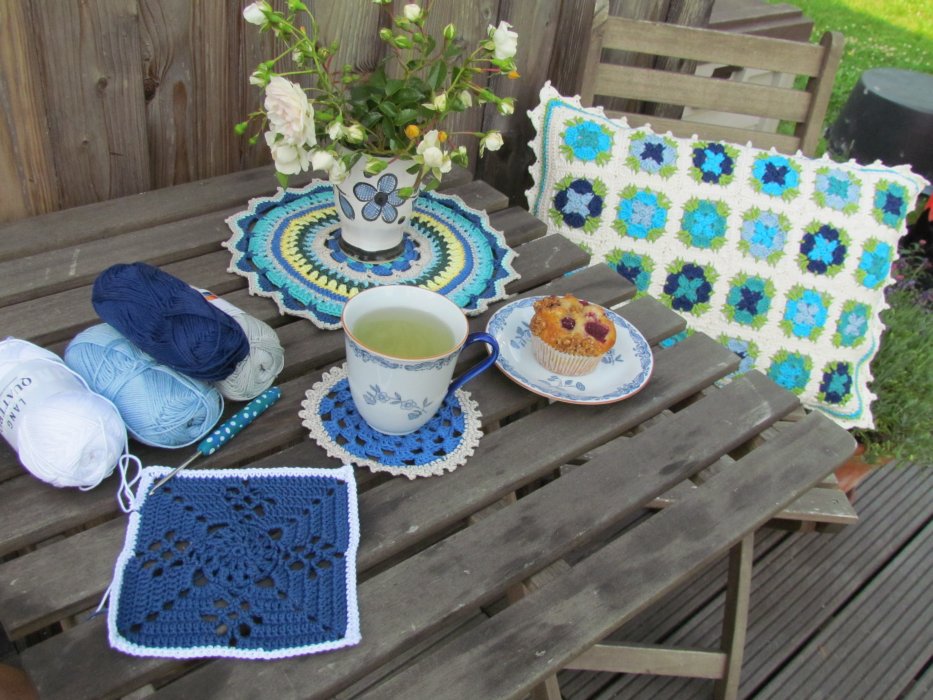
I am in a much slower mood now. I start the day with my mug of tea sitting outside and enjoying the quiet peace of the summer garden. It is such a good feeling to slow down, to get rid of the hectic rush and strict time schedules.

A couple of weeks ago I came across a book blog that reviewed quite a lot of books received by the publishing group Random House. I got curious how this works and visited the bloggerportal of Random House. It was very easy to sign up and as soon as I had filled in a registration sheet I was able to have a look for crochet books. I found several interesting books and asked if I would be allowed to review some of them. First I didn't get an answer and soon I forgot all about it but then one day I received a parcel filled with four books! 
 I couldn't believe my eyes!

So here I go! The first book I want to write about is a crochet book by Nicky Epstein called "Häkelblüten". It was published by Bassermann Inspirations in 2014 and the original American edition "Nicky Epstein's Crocheted Flowers" was published in 2007.
 The book includes more that 40 different crochet flower patterns and additional patterns for garments with floral embellishments. Every flower is wonderfully photographed and staged. The whole book is a pleasure for the eye.

 The book is divided into 5 chapters. The first chapter "Mehrlagige Blumen mit Blütenblättern" (multilayered flowers with petals) contains eight different patterns, there is a pattern of a sunflower I will definitely try. 
The second chapter "Blumen in einem Stück gehäkelt" (flowers made in one piece) includes patterns for a pansy or a poinsettia and there is a wonderful stole that I would start immediately if I had the right yarn for it in my baskets. Just have a look...
Isn't this a beauty? I will make such a wonderful stole for my self one day. Oh, my list of future projects is growing from day to day. 
The third chapter is called "Blumen in Drehtechnik" (cord flowers), it includes several different rose patterns and an inspiration for embellishing a bridal gown:
 I would love to wear this but as I am already married I just can't imagine any other occasion that is appropriate for such a dress.

The forth chapter deals with "Filzblumen" (felted flowers) which I have never tried before. But there are some pretty patterns and I could imagine to give it a shot one day.
 
The last chapter is called "Blätter, Kugeln und Kettenstich" (Leaves, balls and chain stitch) and includes several leaf and flower patterns. 
I tried out two of the patterns of this book and it was fun to make them. The instructions are very clear and there is not only the written form you can follow, every pattern also consists of a diagram, here is an example:
 Therefore it is not too difficult to follow the patterns even if you are not able to read German.
The first pattern I tried is called "Barockblüte" (Baroque flower). My version looks totally different from the picture in the book, mainly because Nicky Epstein often favours luxurious yarn with silk or other materials that shine or sparkle. I just used a simple cotton yarn but nevertheless I am quite happy with my flower.

Do you want to see how the "Barockblüte" looks like in the book? Here it is:
Same pattern, different yarn, different effect.
The second pattern I tried is a simple poppy. I used Stylecraft Special DK in lipstick:
 Here is the picture from the book:
 To sum up, I really enjoyed looking at this book. There are  a few patterns in this book that are quite simple and I guess that you can find similar patterns for free somewhere in the net. But the presentation of the book is very inspiring and once in a while I love to take a book from my shelf to dive into someone elses creative work and feel inspired.
Because this is my first review of a book and because I am so glad that there are so many people out there who read my posts and leave such pleasant and encouraging comments I want to take this book as a Giveaway for all my readers.  
 And all you have to do to enter is leave me a little comment  here on my blog!
 
Definitely anybody can enter, I will happily post anywhere in the world.
 
If you haven't left a comment before, please don't hesitate to do it... One of my reasons for doing this Giveaway is to meet lots more of you and discover much more wonderful blogs to visit.
The winner will be picked on Friday, 31h July.
I hope to hear from you.
Viola


Thursday 16 July 2015

A summer project

Tomorrow will be the last day of this school year and I am so extraordinarily happy about it. The last weeks have been filled with a lot of school work - not only for the kids, appointments and events. Life has been hectic, busy and demanding. We all are in desperate need of a break. But I am sure that from next week on we will slow down, take it a little more easy and hopefully we'll be able to enjoy summer. Summer?

This summer is a 'to be or not to be' summer here in North Germany. One day we have lots of rain and it is cold, next day the sun is shining and you throw off the jeans and the jacket you have worn the day before. We have a big rain barrel in our garden that can save 1000 litres of  rainwater and it is loaded to the gunwales! Usually we don't have any rainwater anymore in July and our lawn looks like a beginning steppe. But this year everything is different.

Nonetheless I still feel summery. I want it to be summery. I long for summery days. And if the weather doesn't cooperate, I have to make my surroundings summery. That why I started a small little summery crochet project, using cotton yarn from my stash. 


I had a loooong look into my cotton yarn basket to decide which colours to choose. Which ones are my summer colours? Finally I chose these ones:
Turquoise, light blue, mimosa, citron, jade, sky, forest and royal. 
All the colours of the ocean and the beach - summer for me.  
I wanted to make a mandala for the kitchen table with matching coasters which we use daily for our teacups.

Have you seen the mandalas by Ayda Algin in Mollie Makes issue 54? I totally fell in love with her design and this was the perfect pattern for my summer project.
This is my version of her design:

 It's so pretty, isn't it? I immediately went into the garden to pick some wonderful white hydrangeas to brighten up my kitchen table. They match so nicely, don't they?
 Here is a bunch of photos, sorry, I just can't help it:
 And here are my coasters. I made 6 of them, because the children often bring some friends home who will need a coaster as well when joining us for lunch or dinner. 
 I didn't follow any pattern making them, I was to lazy to search for a nice pattern in the net. I just made some granny clusters, not forgetting to increase each round so that they lie flat on the table. The edge is simple picots.


 And as I am writing this post, the sun is coming out. I will make use of these rare sunny moments to work a bit in the garden, my raised bed need a thorough weeding. 

I hope that you are able to savour the sun, as well. If not today, maybe tomorrow. 

Happy summer for all of you!
Viola


Wednesday 8 July 2015

Granny blanket love - my 'join-as-you-go' method


A while ago a visitor asked for a tutorial on how I join my granny squares using the 'join-as-you-go' method. I thought I could try to work out a photo tutorial, this is my first one, I hope that everything gets clear, ... here you are ....

My blanket is made of 3-row granny squares. I generally have no chain in between my granny clusters and 2 chains in my corners and that is what my Join-As-You-Go Tutorial will be based upon. I work my tutorial in US terms (which make much more sense to me than the UK terms, sorry for all my readers from the UK).

Start with one completed square.
Crochet a second square until you are making the last round. In the last round you just crochet two sides and then you begin to join the second to the first granny square.
 When you reach the end of the second side of your granny (the last 3 double crochet cluster) make one chain like you normally do in a corner. Then lead your hook from the front to the back to fetch the yarn in the pink corner of your first granny, pull it through the corner and then your loop. It is the easiest if you twist the hook while pulling the yarn through the corner, so that you won't drop the yarn.
 Next you make a chain without joining, just like normal. Make your second 3dc cluster in your squares corner.
Now you have connected the corner of your first granny with the corner of your second.
  To join the side of the blue granny you repeat the joining procedure in every space between the granny clusters: Lead your hook from the front to the back to fetch the yarn in the space between granny clusters (don't forget to twist your hook), pull it through the space and then your loop. 
 
 When you reach the second corner, you do the same as in the first one: Make a chain, then lead the hook form the front of the pink corner to the back to fetch the yarn, pull it through the space and then your loop. Next you make a normal chain.
 Your grannies should be connected by now and you can finish the last round of your second granny.

 Now I want to join a granny to a corner with 3 granny squares (a grey one on the right, a red one in the corner and a light blue one on the left). I start with making 3 clusters of the granny I want to join (the pink one in my picture).


The trick is to only join into your right square and the one to the left and skip (in this picture) the red one in the corner. You do it like this: Lead your hook from the front to the back to fetch yarn in the grey corner, pull it through the corner and then your loop. This is the 1st chain that you usually make in the corner. 


Then lead your hook from the front to the back to fetch yarn in the light blue corner, pull it through the corner and then your loop. Make a chain without joining, this is your 2nd chain that you usually make in the corner.

 Now make 3 dc cluster in your corner and continue to join to the light blue square like you did before.
 Join your last corner like you did with your first (chain -join-chain), finish your granny square and there you are! All nice and neatly joined.
 If you have any further questions, please let me know. I am always happy to help. 

It is such a joy to work with these grannies, I do almost nothing else at the moment. Playing with the colours is so satisfying, I can't understand anymore why I was so afraid of starting a granny blanket.
 This is my progress so far. I joined already 199 grannies. What a joy! 

My other blanket is lying neglected in the basket. But I will continue with is soon, so that I can show it to you, as well. 

Take care of yourself,
Viola